Hey folks, so, today I bumped into a little task where I needed to switch up a drive letter on my Windows machine. It wasn’t as straightforward as I thought it’d be, so I figured I’d jot down my experience here in case anyone else finds themselves in the same boat. It’s not rocket science, but it did take a bit of fiddling around to get it right.
First off, I fired up PowerShell. Not just any PowerShell, mind you, but I made sure to run it as an administrator. You gotta have those admin privileges, or it’s a no-go. So, I hit up the old “Windows + X” combo on my keyboard and clicked on “Windows PowerShell (Admin)”. That got the ball rolling.

Digging into PowerShell
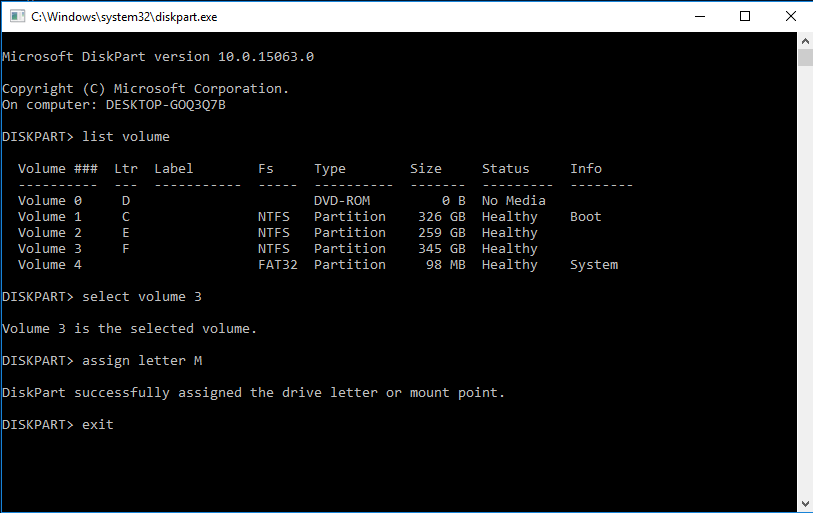
Once I was in, I started poking around with some commands. I knew I needed to use the Get-Partition and Set-Partition cmdlets, but the syntax wasn’t super obvious at first. I mean, I’m no PowerShell guru, but I can usually fumble my way through.
After a bit of trial and error, and a quick search, I figured out the right way to do it. The magic command looked something like this:
Get-Partition -DiskNumber DRIVE-NUMBER Set-Partition -NewDriveLetter NEW-LETTER
Of course, you gotta replace DRIVE-NUMBER and NEW-LETTER with your actual drive number and the new letter you want. It’s pretty straightforward when you see it, right?
But I’m lazy, I just used drive letters instead, so I did it like this:
Get-Partition -DriveLetter $old Set-Partition -NewDriveLetter $new
But then I realized I had to set the $old and $new variables before, so I just typed like this:
$old = "D"$new = "E"Get-Partition -DriveLetter $old Set-Partition -NewDriveLetter $new
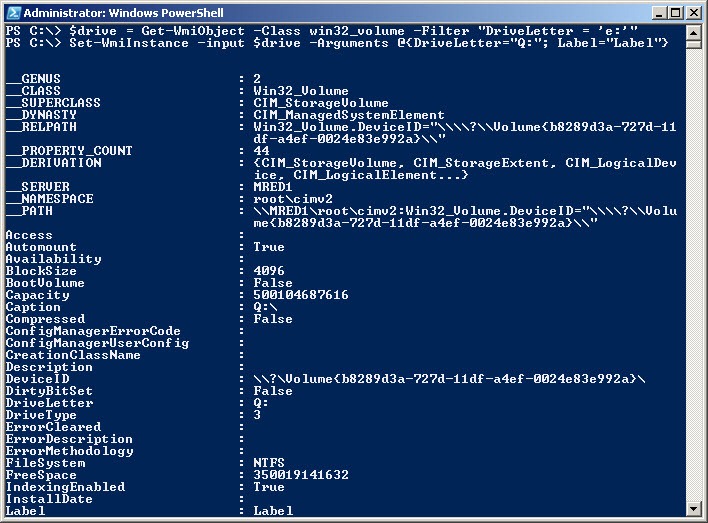
There were a couple of hiccups. Like, at one point, I accidentally tried to assign a drive letter that was already in use. PowerShell was quick to throw an error at me for that one. It was a good reminder to double-check which letters were actually free. I also stumbled upon some stuff about WMI classes. Apparently, WMI is this huge repository of info about your Windows system, but that’s a rabbit hole for another day. It sounds important, though.
Wrapping Up
Anyway, after a few more tweaks, I finally managed to change the drive letter. It felt like a small victory, you know? One of those things that’s not a big deal, but it’s satisfying to get it sorted. And it made me appreciate how powerful PowerShell can be, even for simple tasks like this. Also, I found some people talk about using Push-Location and Set-Location commands to navigate through drives, but that’s not what I was after this time. It was all about changing the letter, not moving around.
So, yeah, that’s my little adventure with PowerShell and drive letters. Hopefully, this helps someone out there. If you’ve got any tips or tricks of your own, feel free to share them. We’re all just trying to get by with this stuff, right?
