Well, if you got yourself a fancy external hard drive and wanna hook it up to a Linux computer, don’t worry, it ain’t too hard to do. I’ll walk you through it step by step, and by the end, you’ll be able to get that drive mounted just right.
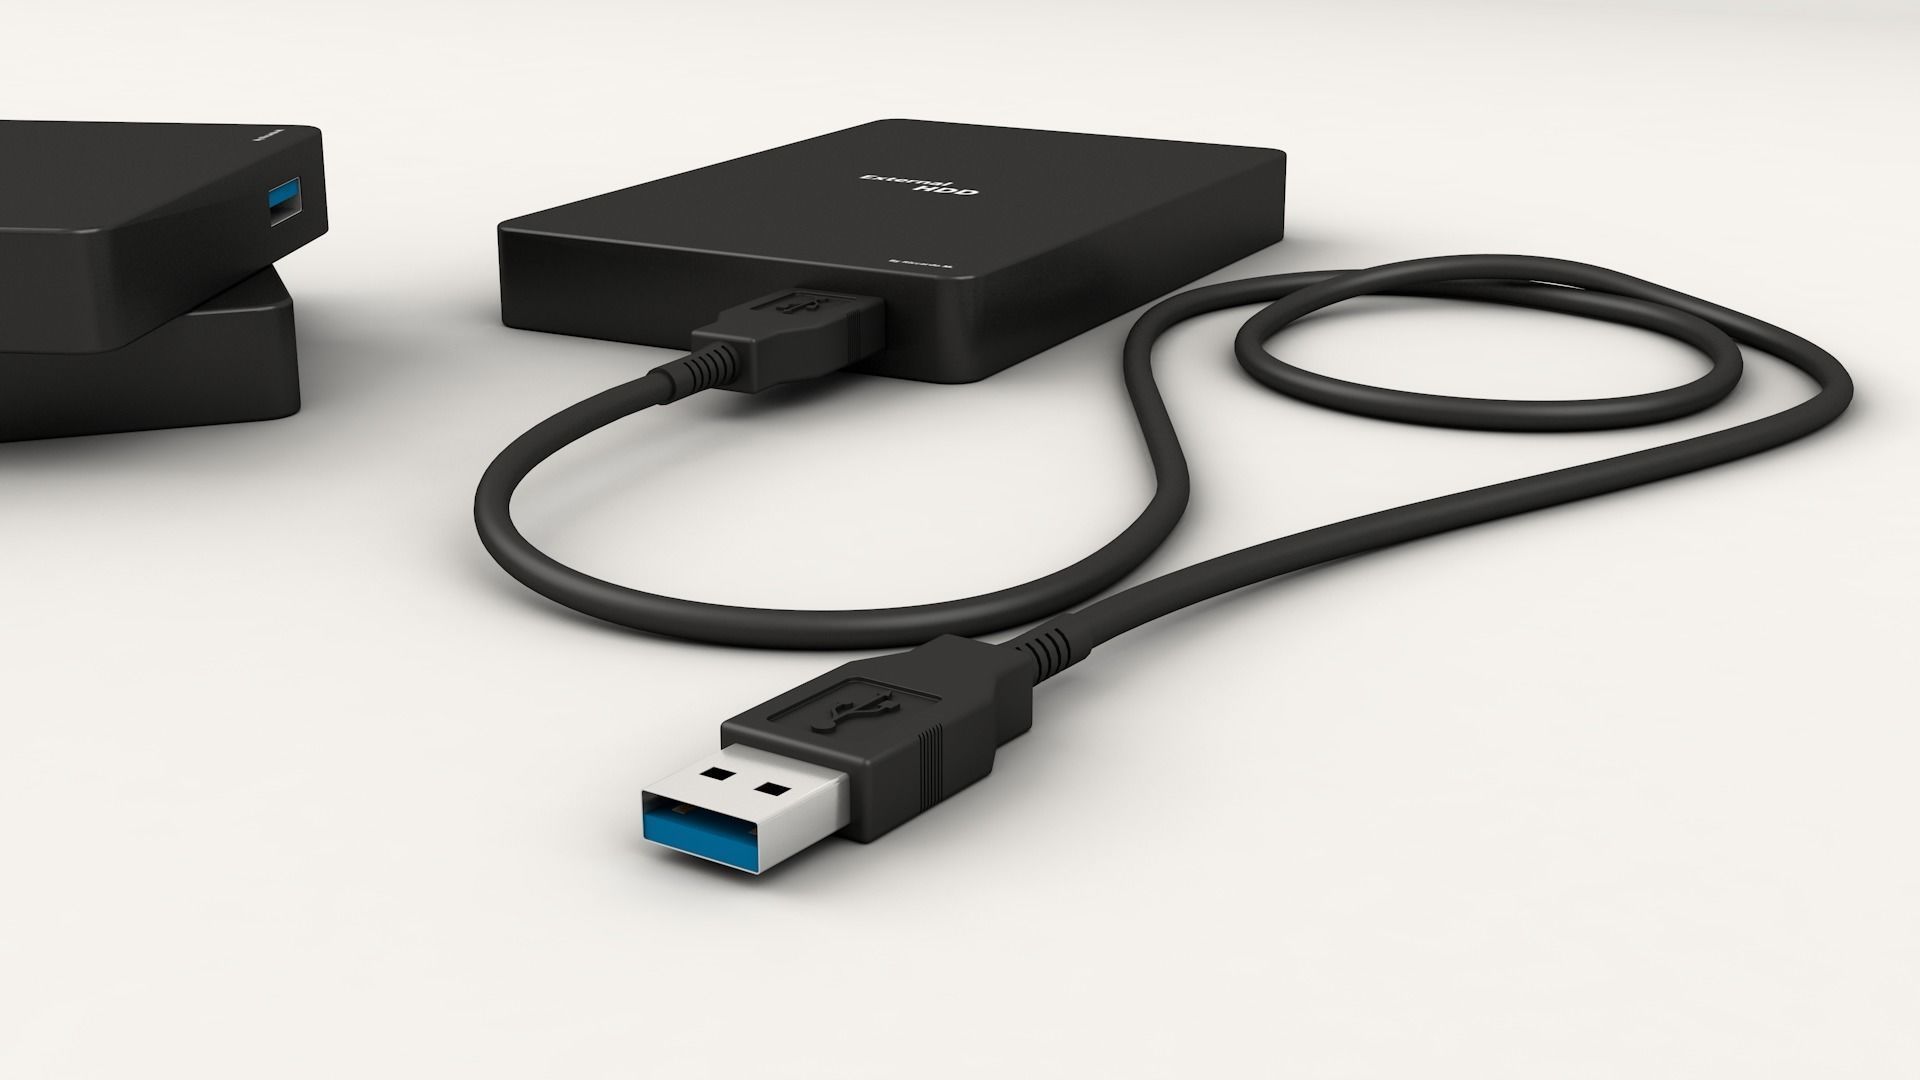
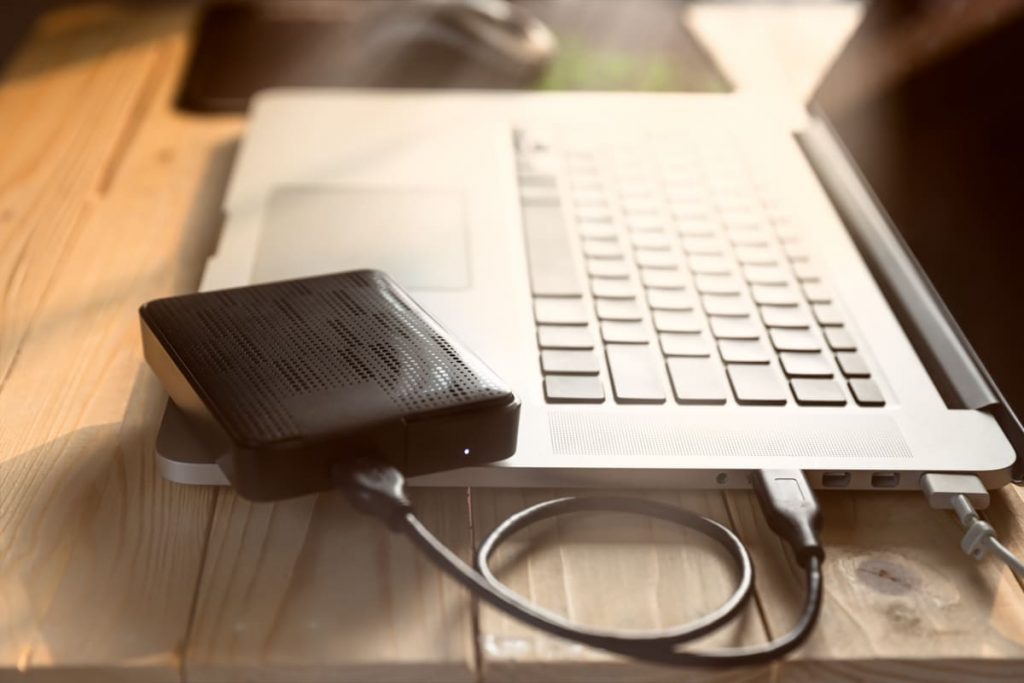
First off, you gotta connect your external hard drive to your computer. You can plug it in using a USB or any other connection your computer supports. Just make sure it’s in there good and proper. When that’s done, we’ll need to tell the computer where to put that drive so it can use it.


Step 1: Check if the Drive is Detected
Before you do anything, you gotta make sure that the system recognizes the external hard drive. It ain’t always obvious, so you might need to check. On most Linux systems, you can open up a terminal window (you know, that black screen with white letters). Then type in the command:
lsblk
This will list all the drives and partitions connected to your computer. Look through the list and find your external hard drive. It’ll likely show up as something like /dev/sdb or /dev/sdc, depending on how many other drives you got connected. If you see your drive, then you know it’s connected and ready to go.
Step 2: Make a Mount Point
Next, you need to create a place on your computer where the external drive can be “mounted.” Think of it like a parking spot for your hard drive. You can make a folder anywhere, but let’s just make one in your home directory to keep it simple. So in that same terminal, type:
mkdir ~/external_drive
This command makes a folder called “external_drive” in your home directory. You can name it anything you like, but this is an easy way to do it.
Step 3: Mount the Drive
Now comes the fun part: mounting the drive. This means you’re telling your computer to link up the drive with that folder you just made. So in the terminal, you’ll type a command like this:


sudo mount /dev/sdb1 ~/external_drive
What this does is tell your system, “Hey, take that /dev/sdb1 drive (that’s the external hard drive) and hook it up to the ~/external_drive folder.” If you named your drive something else, make sure to change it in the command. Also, if the drive is already formatted in a way that Linux likes (like ext4), you won’t need to do anything extra.
Step 4: Access the Files
Once that’s done, you should be able to open up your “external_drive” folder and see everything on your external hard drive. You can now transfer files to and from it just like any other folder on your computer.
Step 5: Unmount the Drive
When you’re done using the external hard drive and you want to disconnect it safely, you can unmount it. To do that, go back to the terminal and type this command:
sudo umount ~/external_drive
This tells your system, “Hey, let go of that external drive, we’re done with it now.” Once you unmount it, you can safely unplug the drive without worrying about damaging the files on it.
Now, that’s all the basics of mounting and unmounting an external hard drive on Linux. Real simple, right? Just remember: always unmount your drive before you pull it out. That way, you won’t lose any files or mess things up. If you follow these steps, you should be all set to use your external hard drive with Linux any time you need it.
Tags: [Linux, mount external drive, mount command, external storage, unmount, terminal commands, Linux tutorial]


