Oh, you know, I been usin’ that Mac computer for a while now, and one thing I gotta say is, them little icons on the drives can make a big difference! I mean, when you got a bunch of stuff piled up, havin’ a good icon for your hard drive makes it easier to spot. Ya don’t wanna be wastin’ time lookin’ for your stuff, especially if you’ve got a lot of folders and drives all mixed together. I’m gonna tell ya how you can change them Mac hard drive icons, so you don’t gotta keep lookin’ all over the place!
Step 1: Pick Your Icon
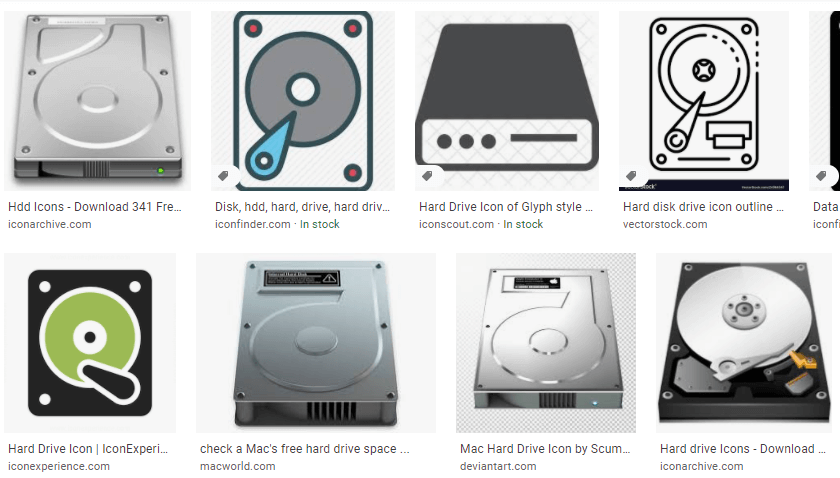

First thing’s first, you gotta find the icon you want to use. Now, don’t go stressin’ about it. You can find plenty of free icons online. Just search for “Mac hard drive icons” and you’ll see all kinds of pretty ones to choose from. There’s a whole bunch of sites like IconArchive where you can download ‘em for free. You can pick any icon that tickles your fancy, but just make sure it’s in a format that works with your Mac. Usually, you want to look for an .icns file or something that’s easy to handle on a Mac.
Step 2: Download and Save the Icon
Once you’ve found the icon you like, you gotta download it to your Mac. After it’s downloaded, go ahead and unzip it if it’s in a compressed folder. Don’t forget where you saved it! It helps to keep things neat and tidy, so you don’t get lost in your files.
Step 3: Open Get Info
Now, this part’s easy too. You gotta click on the drive or folder that you wanna change the icon for. Once you’ve clicked on it, you go up to the top of the screen and click on “File,” then select “Get Info” from the drop-down menu. Or, if you’re quick with them keys, you can just press Command + I, and that’ll pop up the info window for that drive. Real simple!
Step 4: Copy the New Icon
Now, here’s the trick. If you got that icon downloaded and opened, you gotta select it and press Command + C to copy it. Make sure it’s the icon image you want to use, not just the file itself! You need the actual image to paste onto your drive icon.
Step 5: Paste the Icon
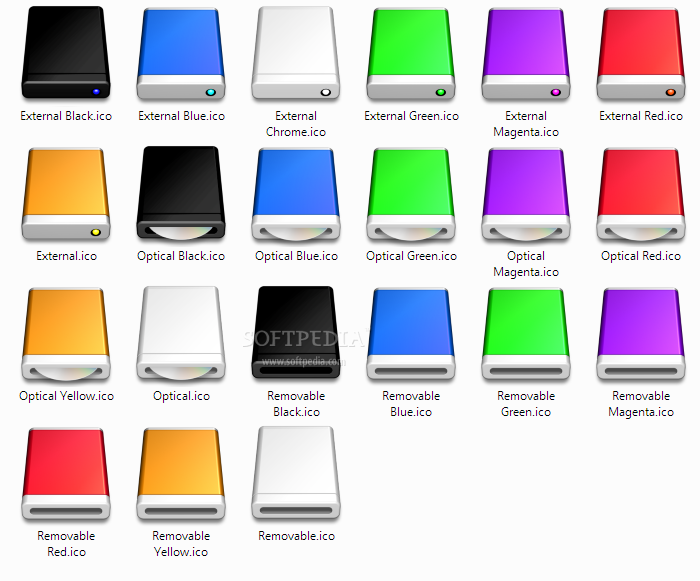

Next, you’re gonna go back to that “Get Info” window you opened before. See the little icon in the top-left corner? Just click on it once to highlight it. After it’s highlighted, press Command + V to paste the new icon right on there. And just like that, your Mac’s hard drive gets a fresh new look!
Step 6: Check Your Work!
Once you’ve pasted that icon, you can close out the “Get Info” window and take a look at your hard drive. It should be all spruced up with your new icon. If it don’t show up right away, don’t panic. Sometimes you gotta restart the computer or unplug and plug back in the drive for the changes to take effect. But usually, it don’t take long, and soon enough, your Mac will be lookin’ like it’s got a whole new personality with them icons!
Bonus Tip: What If You Want to Go Back?
Well, if you ever change your mind and want to go back to the original icon, it’s easy too. Just open the “Get Info” window again, click on the icon in the corner, and press the delete key. That’ll get rid of the new icon and return your hard drive to its default look. No need to worry, you can always change it back later!
So, there you have it! Changing them Mac hard drive icons is quick and simple, and it’s a great way to keep your files and folders organized, especially if you’ve got a lot of ‘em. I’m tellin’ ya, once you start doin’ it, you’ll wonder why you didn’t do it sooner. It’s like a little makeover for your computer!
Tags:[Mac hard drive icons, change drive icon Mac, customize Mac icons, Mac icon tutorial, free Mac icons]
