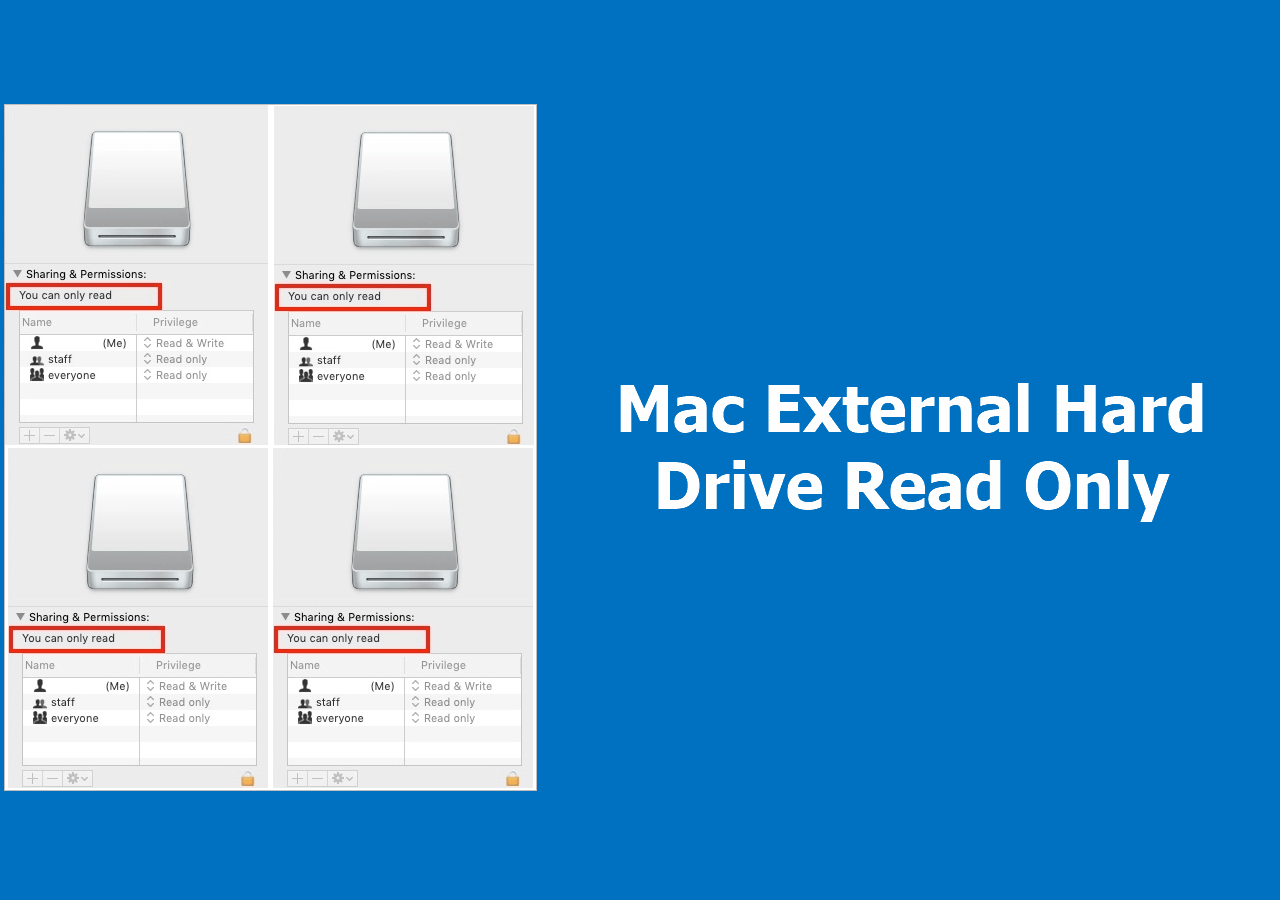
You know, sometimes things on the computer can be mighty tricky, especially when you’re tryin’ to use an external hard drive on a Mac. Now, if you’re in a spot where that external hard drive is stuck on read-only, and you can’t save nothin’ to it, don’t you worry none. There’s a way to fix it. Let me tell you how it works in simple terms.
First off, let’s get one thing clear: If that external hard drive’s all empty, or you don’t care much ’bout the files on it, you got yourself an easy job. All you gotta do is format it! Formatting clears everything out, and that makes the drive ready to work again like new. If you’re not worried ’bout losin’ your data, this is the easiest way to get things back on track.

Step 1: Plug it in, and check it out
Now, the first thing you wanna do is plug that external hard drive into your Mac. Don’t be hasty, make sure it’s sittin’ pretty in there. Once you’ve got it plugged in, head over to your Finder, and see if you can even see the drive there. If it’s showin’ up but you can’t do nothin’ with it, that’s when we gotta start thinkin’ ’bout what to do next.
Step 2: Open Disk Utility
You’re gonna need to use a tool called Disk Utility for this. It’s built right into your Mac, so no need to go downloadin’ anything extra. Just open up the “Applications” folder, then go into “Utilities,” and there you’ll find Disk Utility sittin’ there. Click on it, and you’ll see a list of all the drives connected to your Mac.
Step 3: Select the External Drive
Now, on that list, look for the external hard drive you’re havin’ trouble with. It’ll probably be listed by the name you gave it, or it might just say “Untitled” or “External.” Click on it, and that’ll bring up some options for what you can do with it.
Step 4: Erase and Format the Drive
Here’s where the magic happens. When you click on the external hard drive, you’ll see a button at the top that says “Erase.” Don’t worry, this won’t erase your Mac’s hard drive; it’s just gonna clear out everything on that external one. After you click “Erase,” you’ll need to choose a format. If you want the drive to work on both Mac and Windows, pick “ExFAT.” If you just wanna use it on Mac, pick “Mac OS Extended (Journaled).” Then, click “Erase” again.

Step 5: Let it Finish
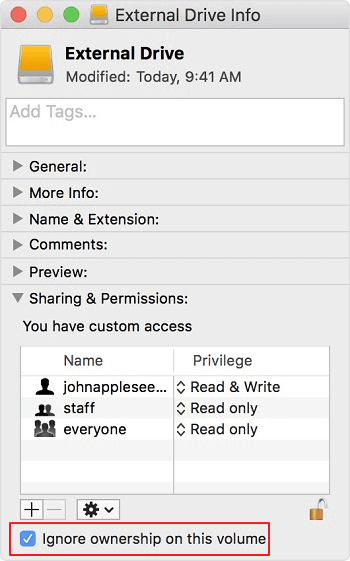
Once you click that button, the Mac will do its thing. It’ll format the drive, and depending on how much space it’s got, it might take a few minutes. Don’t touch anything while it’s working, just let it do its job.
Step 6: Use Your Drive Again
When the process is done, you should be all set. Your drive will be ready to use again, and you can start saving your files to it. You shouldn’t have any more problems with it being stuck on read-only mode.
What if this don’t work?
Well now, if that didn’t do the trick, there might be somethin’ else goin’ on. Sometimes, an external drive can get damaged or there might be a problem with your Mac’s settings. You might need to try a few other things, like checking the drive for errors, or even resetting your Mac’s PRAM. But, I’d say, more times than not, formatting the drive works wonders.
Final Thoughts
So, there you have it. If your external hard drive’s stuck on read-only on your Mac, just follow these steps and you’ll be back in business. Formatting the drive is often the quickest and easiest way to solve the problem. But remember, you’re gonna lose all the data on it, so make sure you don’t need anything before you wipe it clean. Hope that helps, and good luck gettin’ your files saved!

Tags:[Mac external hard drive, read-only, format external drive, Disk Utility Mac, solve read-only issue, external hard drive fix, how to format external drive on Mac]

